Over the last 12 months or so I have had a growing interest in the simulations that Fuji film have built into all of their cameras. Latterly I have started to look at the edited versions of these that are published on Fujifilm X app and website. These can very easily be added as custom settings and I have added 7 to both my XT-5 and my X100V.
In all honesty I really do not know what the old film stock that the fuji simulations are meant to mimmic, but decided I’d play around with a number of the custom versions of the coming month or so. I’ll either love it or get bored, lets see what happens.
Yesterday I took a trip out to Bolton-le-sands, which is near Carnforth, and just round the coast from Morecambe. Yes it was a very sunny day and yes it was the middle of the day that I was shooting but I selected a simulation that thought would thrive in the sunny weather. That simulation is called Classic Colour, and can be found on the Fujifiulm X app if you’re interested in the settings. My idea was to shoot both Raw and JPEG files. I would then edit the RAW files and compare my edited version to the JPEG straight out of camera, with the settings “baked in” as it were. The simulation is based upon Classic Chrome Fuji built in simulation, and I used that as the basis for the edits on the RAW files.
All these images were taken with my Fuji XT-5 with either the Sigma 10 to 18 DC DN, or the Sigma 16 to 55 DC DN lenses. All are hand held.
The following are the comparison images, with the Raw file on the left and JPEG on the right.


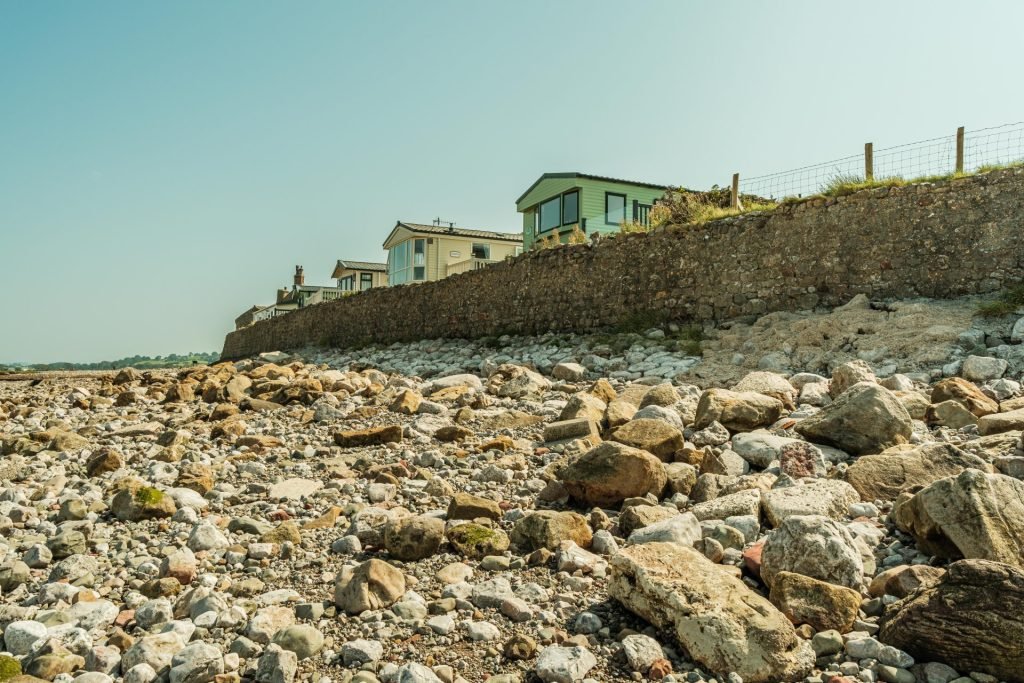
At both ends of the bay are caravan sites, and I wandered down to the south end first, this is nearer to where I parked my car. There’s not a huge difference in both images, but the edited RTAW file on the right just feels crisper an slightly clearer to me.


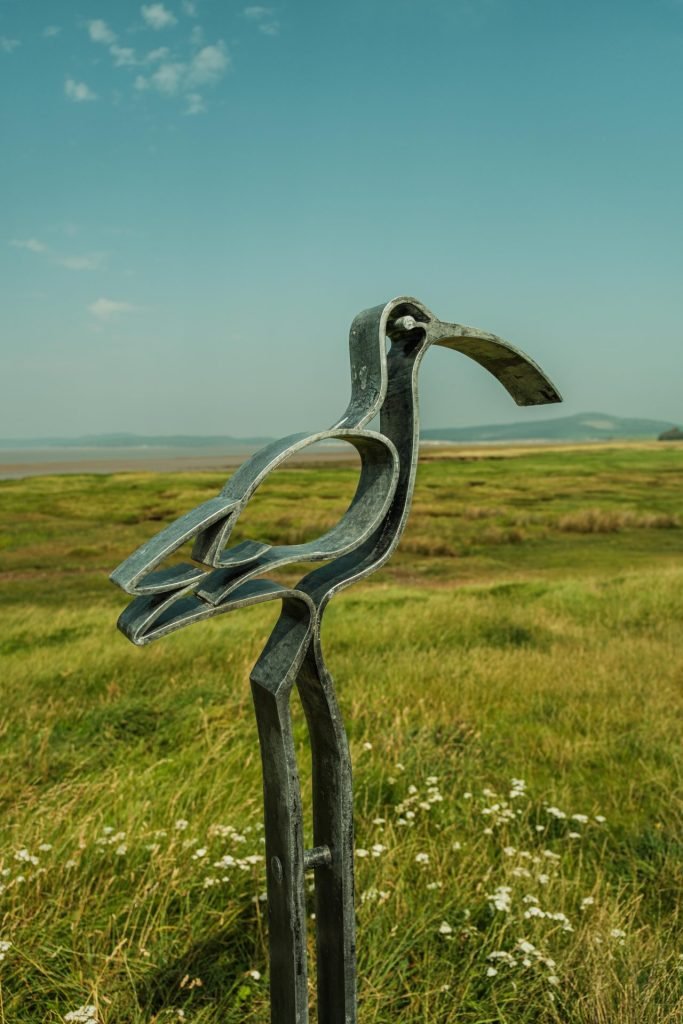
Do you ever have the feeling you’re bing watched. This image was more or less behind where I took the first image. I have cropped the edited RAW file. it is again a little clearer in my mind.

Not a huge difference but again the edited RAW file is clearer and crisper.


You dont have to be Einstein to realise I have done some AI removals in Lightroom, along with a few edits and a vignette.

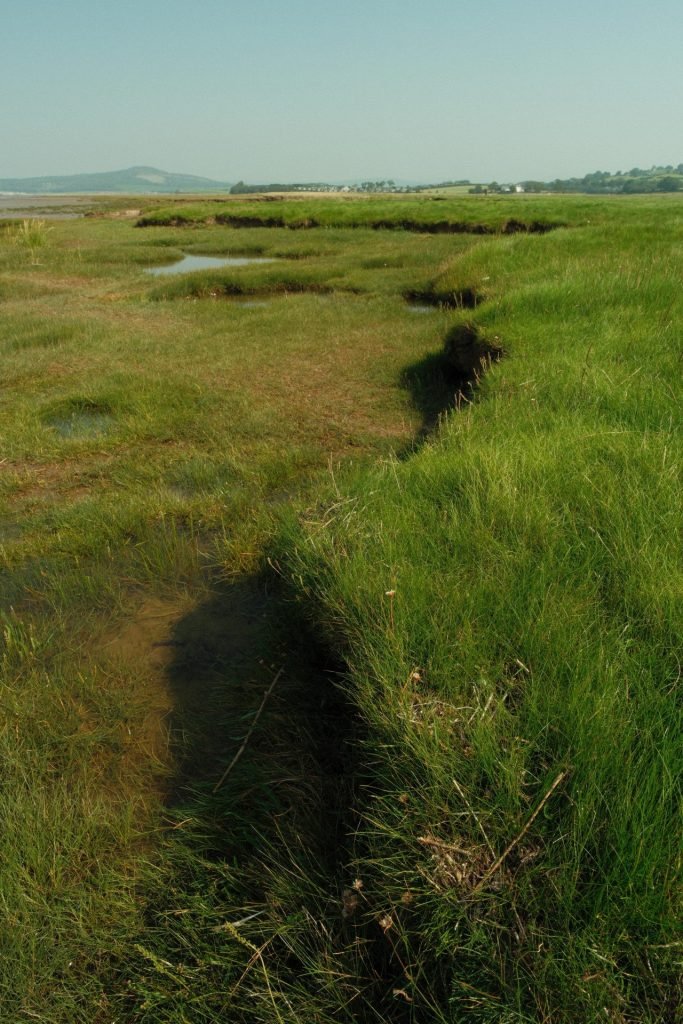
This area of land is interesting and at various stages of pools and ledges. I’ve lifted the shadows and exposure on the edited RAW file.

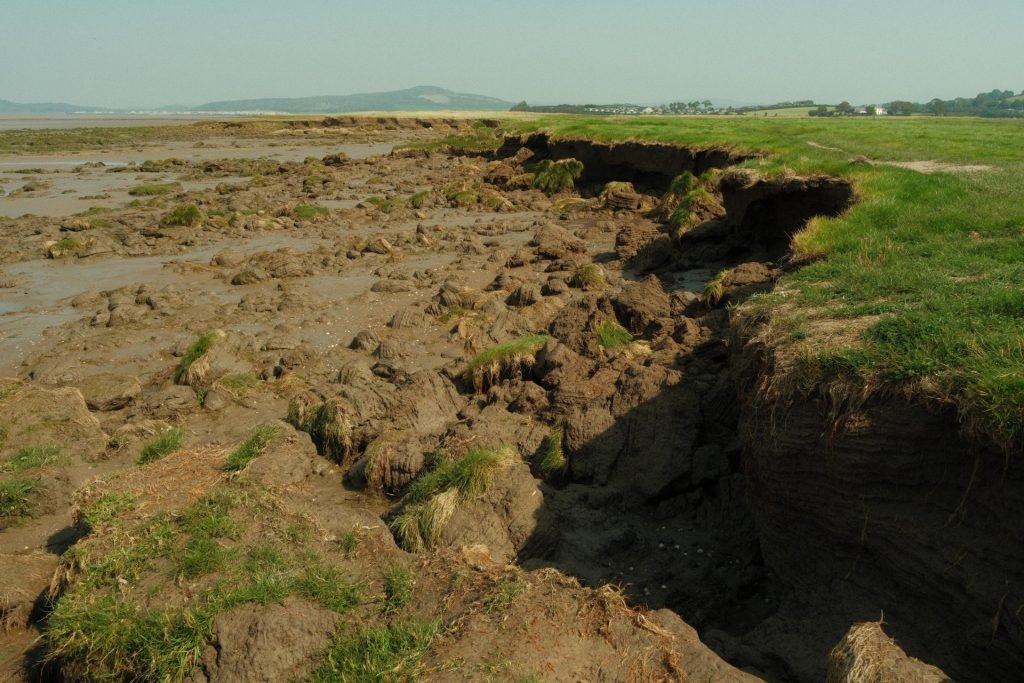
This looked like someone had been digging!! huge bloody digger I’d say. just a few edits to lift the RAW file.


Erosion by the sea or is this man made? Just a few edits to lift the temperature of the image.


Even with the edits these are more or less the same.
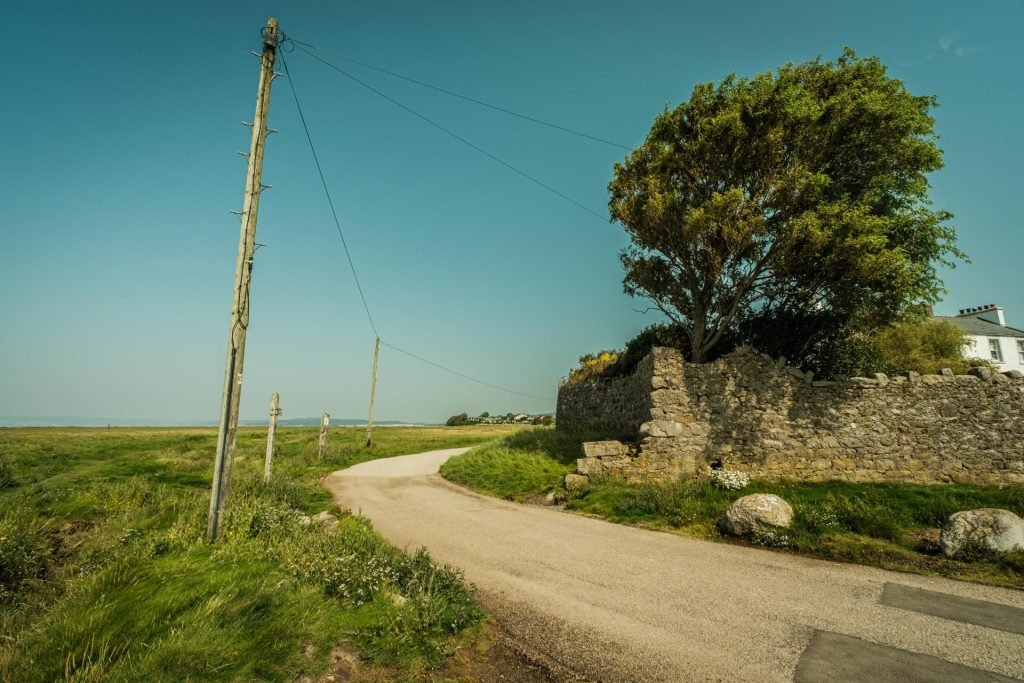

This isn’t some form of lens artefact, it’s the way the poles actually are, bent by the weather. Just a lifting of the temperature in the edited RAW file. Not much difference.


This image begged a crop, and I lifting of the exposure, but overall not too bad.

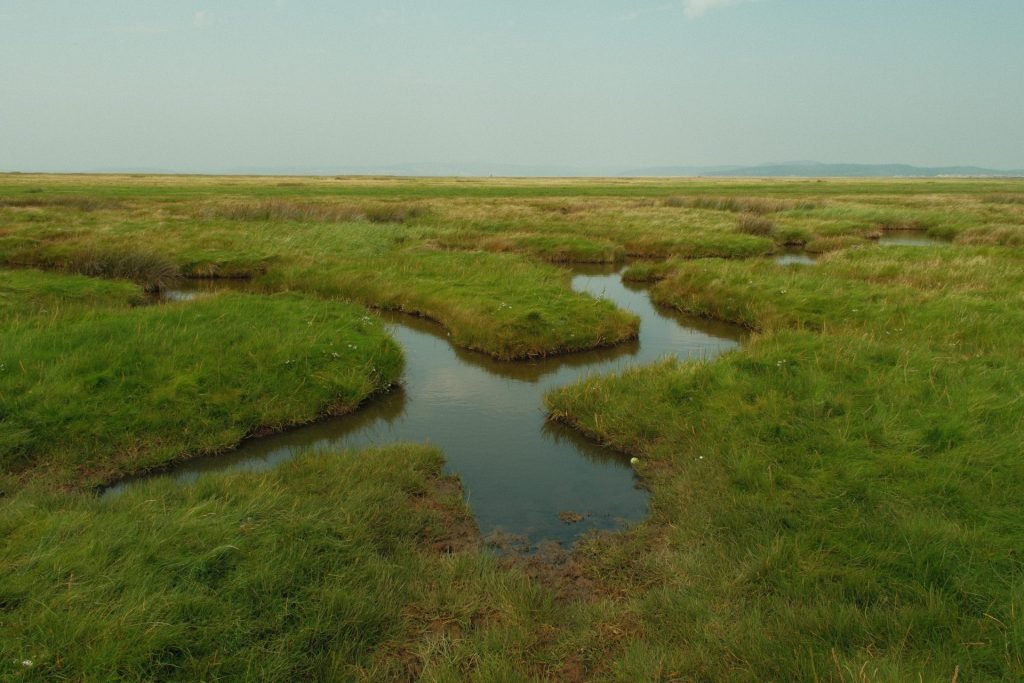
There are lots of these pools of water that must be fed by the sea. the RAW file getting a temperature lift as the main adjustment.

This was literally next to my car, but with me walking the opposite way I didn’t see it. Mainly a temperature lift in the RAW file.
All in all that was a very useful first experiment with adjusted film simulations applied to Jpegs straight out of the camera. Maybe I picked a colour simulation and that fitted nicely with the conditions on the day, maybe if I’d picked a different simulation I would have had different results. I thoroughly enjoyed this and will post more results when I do the next test of another simulation from Fujifilm X app.
Let me know what you think?